Payment type Remote Check allows users to process a check. Additionally the user may wish to enter information into the SAP fields "Amount", "Cost Center", "G/L Account" and "Found Number". There are several rows available for SAP input, this allows the user to add multiple SAP revenues. In the event that the user needs more rows to enter SAP information he/she may click the blue plus symbol, which will add another row for SAP input. The user must ensure that the total of the "Amount" fields equal the value entered within the "Sale Amount" field.
Customer Data
After entering the Sale Data and placing the check into the connected scanning device, the user must click "Scan Check". Once the device has scanned the check, the fields Check Number, Routing Number, and Account Number will be auto populated. The user must ensure that the scanned data is correctly scanned and enter the customers in the fields labeled "Customer Name."
Processing the Transaction
When you have finished filling in all the required fields and any additional fields you choose to fill in, you can process the transaction. If you decide at this point that you no longer want to process this transaction you can either click "Reset" at the bottom of the screen to reset the form and enter in new information, or you can click "Cancel" to close out the Credit Card Payment screen.
Once you click process, if you missed any required fields you will be prompted to fill in these fields. You will not be able to proceed until all required fields are filled in. Once all the required fields are filled in, you can click "Process Payment."
Transaction Result
After the user has clicked Process Payment." they will be forwarded to the Transaction Result, which will either be an approval or decline. This screen also allows you to print or email a receipt.
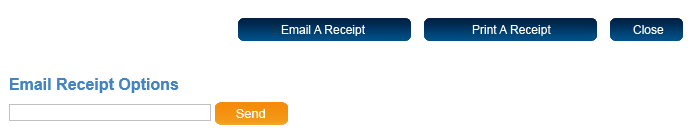
If you choose to email a receipt click the "Email A Receipt" button. At the bottom of the screen a field labeled Email Receipt Options will come up. Enter the customers email address into this field and click "Send". A message will appear saying that the receipt was sent.
If you choose to print a receipt click the "Print A Receipt" button. The receipt will open in a new window and you can then print the receipt. Click "Close" to close the window when the receipt has printed. When you are finished with the transaction click "Close" at the bottom of the screen, and you will return to the payment page.